






In any great work of mechanical engineering, the unseen heroes are often the connectors that hold everything together. A well-designed bracket is more than just a piece of metal; it's a carefully considered solution to a problem of force and geometry. This guide delves into the science of fastening and provides fundamental principles for effective connector brackets design. Whether you are creating simple metal fasteners or a complex structural connector, these rules will help you design better, stronger, and more efficient custom brackets.
Understanding the Forces: Tension, Compression, and Shear
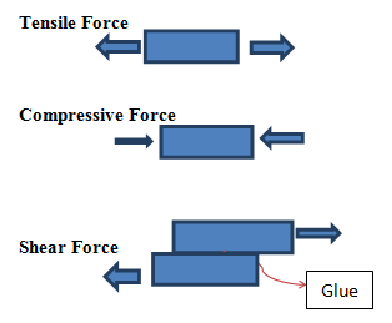
Before designing any bracket, you must first understand the forces it will encounter. All complex loads can be broken down into three basic types.
Identifying the Primary Loads on Your Bracket
First, identify the primary forces your bracket will face. Is it pulling two things together (tension)? Is it holding them apart (compression)? Or are forces trying to slice it in two (shear)? Understanding this is the first step in how to design metal brackets.
How Forces Dictate the Optimal Bracket Shape
The direction of the forces dictates the best shape for the bracket. A bracket designed to resist tension might look very different from one designed to resist bending. A smart design aligns the material's strength with the path of the primary load.
Common Types of Custom Brackets and Their Uses
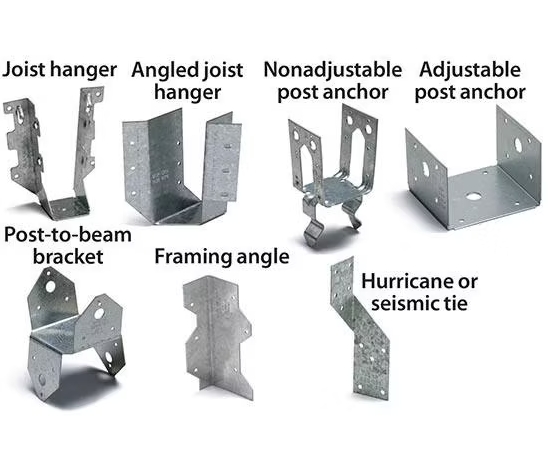
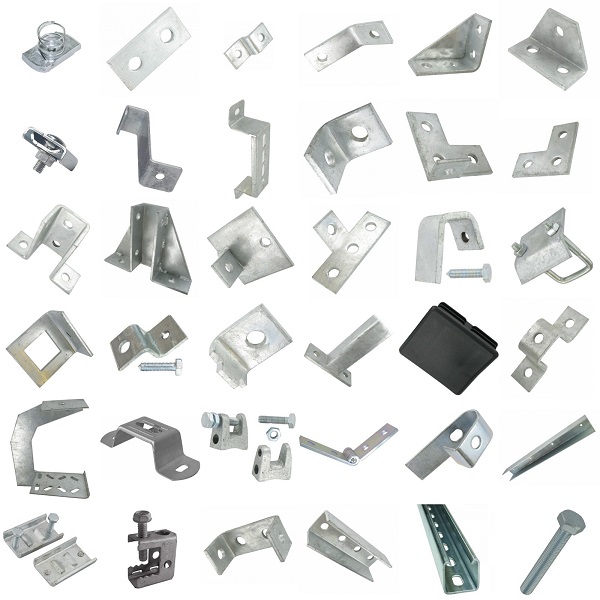
While custom designs are infinite, most fall into a few common categories. Understanding these types of fastening brackets gives you a great starting point.
The L-Bracket: The Universal Right-Angle Connector
The L-bracket is the most common type, used to join two surfaces at a 90-degree angle. It is incredibly versatile, found in everything from furniture assembly to mounting shelves and electronic components.
The T-Bracket: For Perpendicular Junctions
A T-bracket is used to join a perpendicular member to a continuous surface. Think of it as a way to reinforce the joint where the top of a "T" meets the stem, providing strength against lateral forces.
The U-Bracket: Cradling and Supporting
Shaped like a "U," this bracket is perfect for cradling or supporting cylindrical objects like pipes, dowels, or axles. It provides support from three sides, securing the object firmly in place.
The Z-Bracket (Offset Bracket): For Overlapping Surfaces
A Z-bracket is used to join two parallel but offset surfaces. It's an excellent solution for mounting panels or components that need to overlap or have a clearance gap between them.
Key Principles for a Strong and Efficient Bracket Design
Great sheet metal design follows a few key principles to maximize strength while minimizing material and weight.
Principle 1: Add Bends and Flanges to Increase Stiffness
A flat piece of metal bends easily. By simply adding a 90-degree bend or a small lip (a flange) along an edge, you dramatically increase its stiffness and resistance to bending. This is the most efficient way to add strength.
Principle 2: Use Gussets and Ribs to Reinforce Corners
Corners are often the weakest points in a bracket. Adding a small, stamped triangular feature called a gusset or a stamped rib can reinforce the corner, distributing stress and preventing it from bending under load.
Principle 3: Optimize Hole Placement for Load Distribution
Place mounting holes away from the edges and bend radii to avoid creating weak points. Proper hole placement ensures that forces are transferred smoothly through the body of the bracket, improving overall load distribution.
Principle 4: Consider Material and Thickness Carefully
No amount of clever design can compensate for the wrong material or insufficient thickness. The material choice and its gauge are the foundation of your bracket's strength. For a professional review of your design, you can consult the experts at Pengce Metal.
From Design to Reality: Manufacturing Your Structural Connector
A great design needs a great manufacturing process to bring it to life efficiently and accurately.
The Role of Metal Stamping in Producing Brackets efficiently
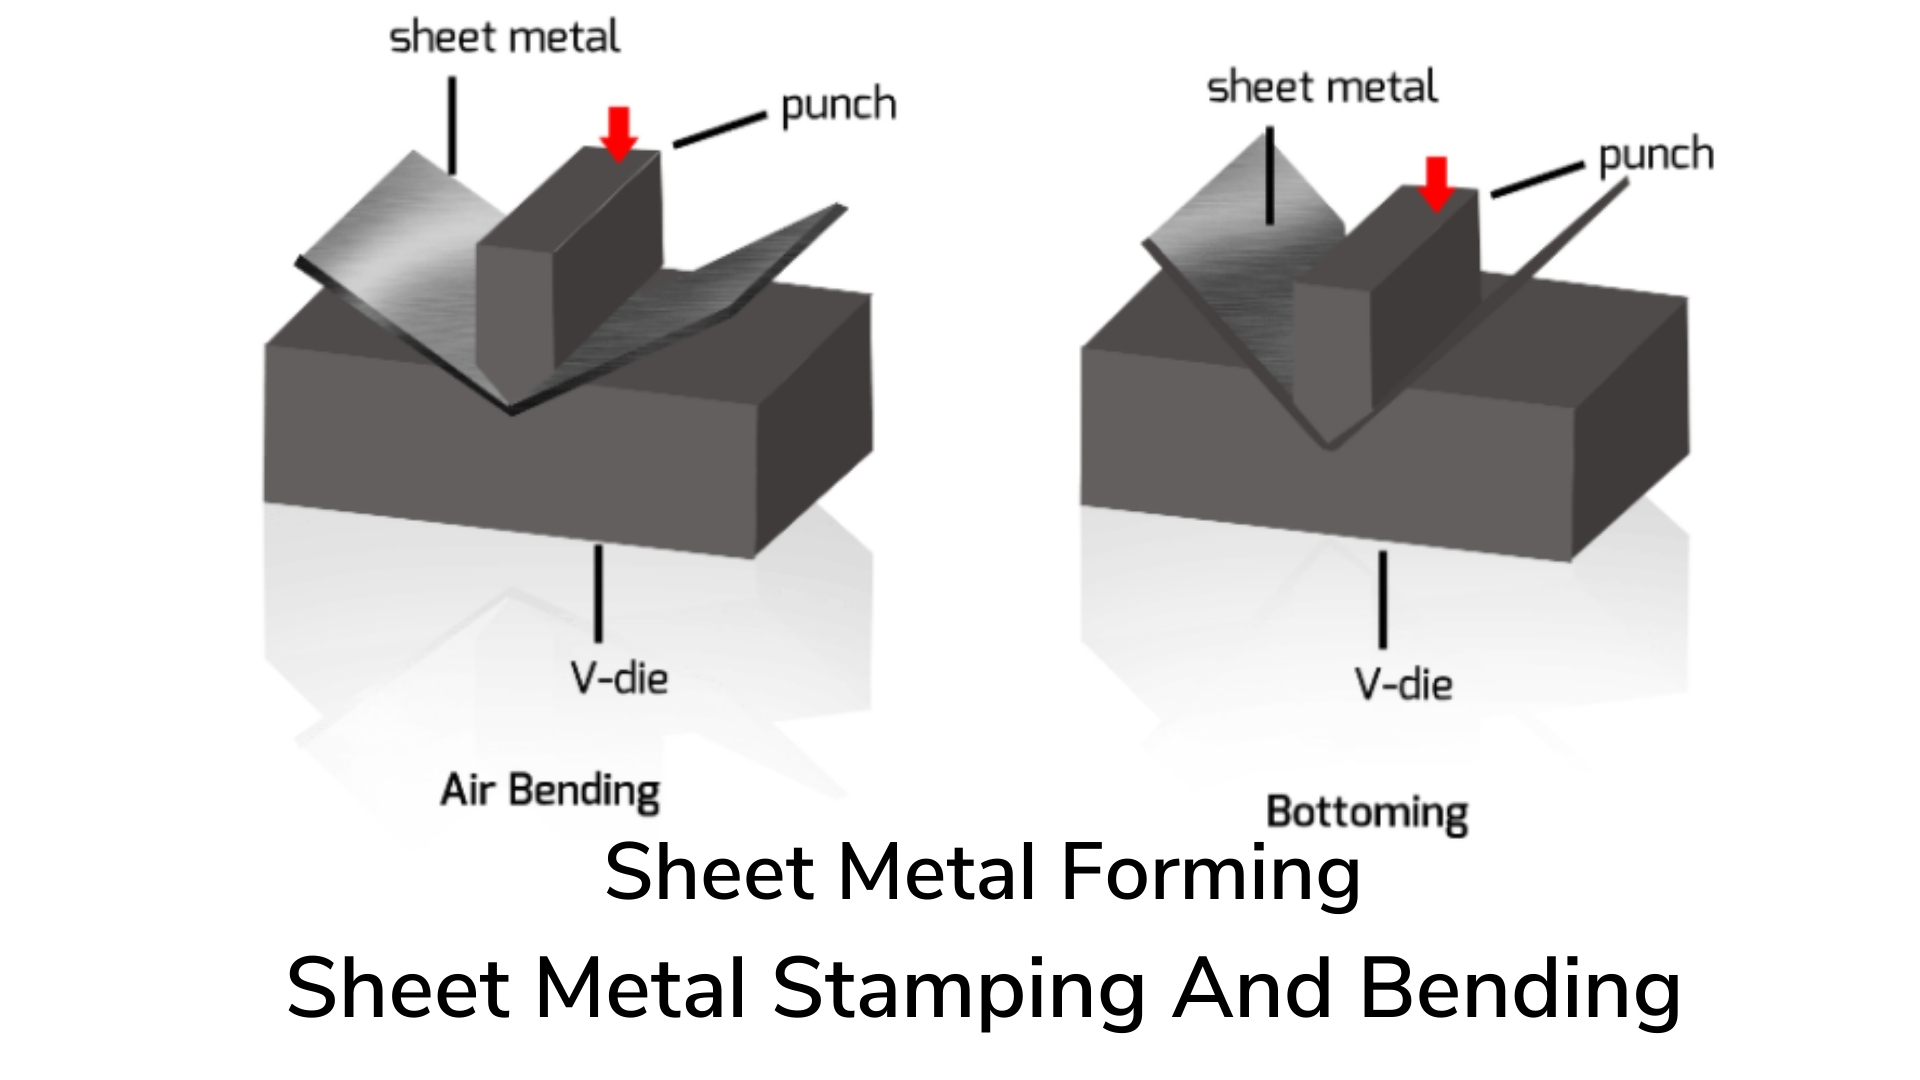
Metal stamping is the ideal process for producing custom brackets in volume. It allows for the creation of bends, holes, and strengthening features like gussets in a single, rapid operation, ensuring consistency and cost-effectiveness.
Why Partnering with a Manufacturer Early is Key
Engaging with your manufacturer during the design phase is crucial. An experienced stamper can provide valuable feedback on your connector brackets design, suggesting small modifications that can reduce tooling costs and improve the final part's performance.
Designing Brackets That Are More Than Just a Connection
An effective bracket is an elegant solution—a perfect blend of material science, geometry, and manufacturing knowledge. By understanding the fundamental forces and applying these key design principles, you can create a structural connector that is strong, lightweight, and cost-effective. What is the most common type of bracket you use in your designs? And what's the biggest design challenge you've faced? Let's discuss below!
Your Connector Bracket Design Questions Answered
How do I calculate the required thickness for my bracket?While simple hand calculations can provide an estimate, the most reliable way to determine the required thickness is through Finite Element Analysis (FEA) software. This tool can simulate the loads on your bracket and predict whether it will bend or fail, allowing for precise thickness optimization.
What is the best material for a high-strength structural connector?For a combination of high strength and cost-effectiveness, hot-rolled steel is an excellent choice. For applications requiring corrosion resistance, stainless steel is ideal. For lightweight applications, aluminum alloys can be used, though they may require a thicker gauge to achieve the same strength.
How does the bend radius affect the strength of a bracket?The bend radius is critical. A radius that is too sharp can create a stress concentration point and may lead to cracking, especially in harder materials. A larger, more gradual radius distributes stress more evenly, resulting in a stronger, more durable corner.
Can you help optimize my existing bracket design for cost and performance?Absolutely. This is one of our core strengths. Our engineering team can review your existing design and provide a free Design for Manufacturability (DFM) analysis, suggesting ways to improve strength, reduce weight, and lower your overall manufacturing cost. Submit your design for a free analysis today.